
Part 2 - The Nuts and Bolts of Creating My First Online Course
In Part 1 of this series, we talked about how to get started in the process of creating your first online course. At this point in the process, you should have at least a first draft of your course content planned out. This includes a general outline broken down into modules each having their own title and content.
Now it is time to think about how you will deliver your content to your audience. What platform will you use, what medium you will use to deliver the content, and what supplemental materials will be available to your clients to help them master your course or topic.
Step 4 to Creating an Online Course - Creating Supplemental Material
Oftentimes there are supplemental materials to go along with a course. These come in a variety of different forms:
- Worksheets
- PDFs
- Printables
- Templates
- Workbooks
- eBooks
- Audio files
- Journals
These materials can be supplementary reading or a way for people to do assignments between modules and put some of what you have been teaching into practice.
For my course, I decided to use worksheets as opposed to creating a workbook. I made PDFs in Canva, an amazing graphic design website that allows you to design anything from social media posts to presentations and logos. I LOVE Canva! These worksheets could be used in three different ways:
- You could print them out and write on them.
- You can edit them right on the computer. I made them editable by using PDFescape, a free website that is super easy to use and allows you to turn your PDFs into an editable worksheet so you can type right on them! Don’t forget to tell your users to save their work when they are done. Otherwise, if they close it without saving, it will be lost.
- They can use the worksheets as a guide and do the work in their own composition books or journals.
I wanted to give people these options so that they could choose the option that is easiest for them. So far I’ve noticed that the most popular option is printing them out and writing on them.
My course also includes a number of audio files, which are guided meditations that go along with the theme for that particular module. For this, I found another very easy-to-use free website called Online Voice Recorder. It really is just click, record, save. I also have a Blue Snowball Microphone to make sure that the quality of the recording sounds professional. I used free software called Audacity to put some music behind my voice for the guided meditations. I purchased a royalty-free track to use from Indie Music Box which offers a library of affordable royalty-free music for commercial use. There are other ways to do all of this, but I wanted to share the tools that I found that were super easy to use and either free or very affordable.
Step 5 to Creating an Online Course - Selecting a Platform for Your Digital Course
Hopefully, by the time you reach this stage in the process you have already done some research on the different platforms, but if you haven’t yet committed to one, it is time to do so. In this step, you will choose which online course hosting platform you will use as well as how you will deliver your content.
You may have taken courses that you can use as a reference point. I had taken one of Brendan Bruchard’s courses, so I knew that Kajabi offered a super easy-to-use interface as a course taker. I also knew from the beginning of starting my business that online courses would be a part of my business model; and, since I would be building a website as well, Kajabi is basically a one-stop shop, so that is the direction I went.
Kajabi really does have it all, and they continue to innovate with regular product updates and new services. It is not the cheapest option, but the cool thing is that you can become an affiliate for Kajabi, so you can make some money if somebody else signs up using your link (that is both info and a disclaimer - this is my Kajabi affiliate link).
Here are just 10 of the many possible features that you can use in Kajabi?
- Website builder - Very easy to use with lots of different templates to match your style
- Blog creation - Post and publish with ease and style
- Course hosting - Their intuitive interface makes it possible to build a course from the ground up
- Membership capabilities - Create exclusive paid membership sites
- Multiple payment options - Loads of different options making accepting payments easy and flexible including payment plans, coupons, and multiple pricing tiers
- Email marketing - Build and maintain an email list to grow your audience
- Marketing pipelines - Create sales funnels and marketing campaigns to help sell your products
- Landing pages - All users have an unlimited amount of pages that you can build
- SEO optimization - You don’t have to be the expert! Each page you create walks you through the steps for SEO optimization
- Podcast hosting - This is one of the very cool new features!
There are many other popular course hosting platforms. Thinkific and Teachable are both very reputable and affordable. Again, I chose Kajabi because I had a positive experience as a user taking an online course, and because I wanted to leverage all of the features listed above.
Step 6 to Creating an Online Course - How will you deliver the material?
Part of the selection process might have to do with how you want to deliver your content. What capabilities do each of them have? Do they make it easy to record or upload video and/or audio? Can you include text and downloads? Photos?
How do you plan to deliver the content? Videos are great so that you can connect with your audience, but do you feel comfortable on video? Do you have all of the necessary technology and a good background for video? I, for one, did not. My tech challenges had me adjusting on a daily basis to make things work. If you do want to include video, you need a good camera, microphone, lighting, a background that looks nice on camera, and editing software. The background can even be a blank wall, as long as it is well lit and a clean surface.
I personally wasn’t happy with the look of my video, so I decided that I was going to make slides using Canva. I made eight slideshows to go along with my eight modules, or blocks as I call them in the course. My plan was to then record audio files to put along with the slideshows, but I found the “record and present” feature on Canva which allows you to do just that, record your voice alongside your slide show with a webcam recording of you in the bottom corner. That way I could keep some of the video aspect in the course so that I could still connect with my audience in that way. 
You will add more skills as you learn along the way. After I published the course, I figured out that you could combine the video with the slides in Canva in a different way. Because Canva keeps a recorded copy of your video in the system, you can plug the video of you talking into a slide, so you could have yourself talking in one box on the slide next to some bullet points on the other side, as in the example below.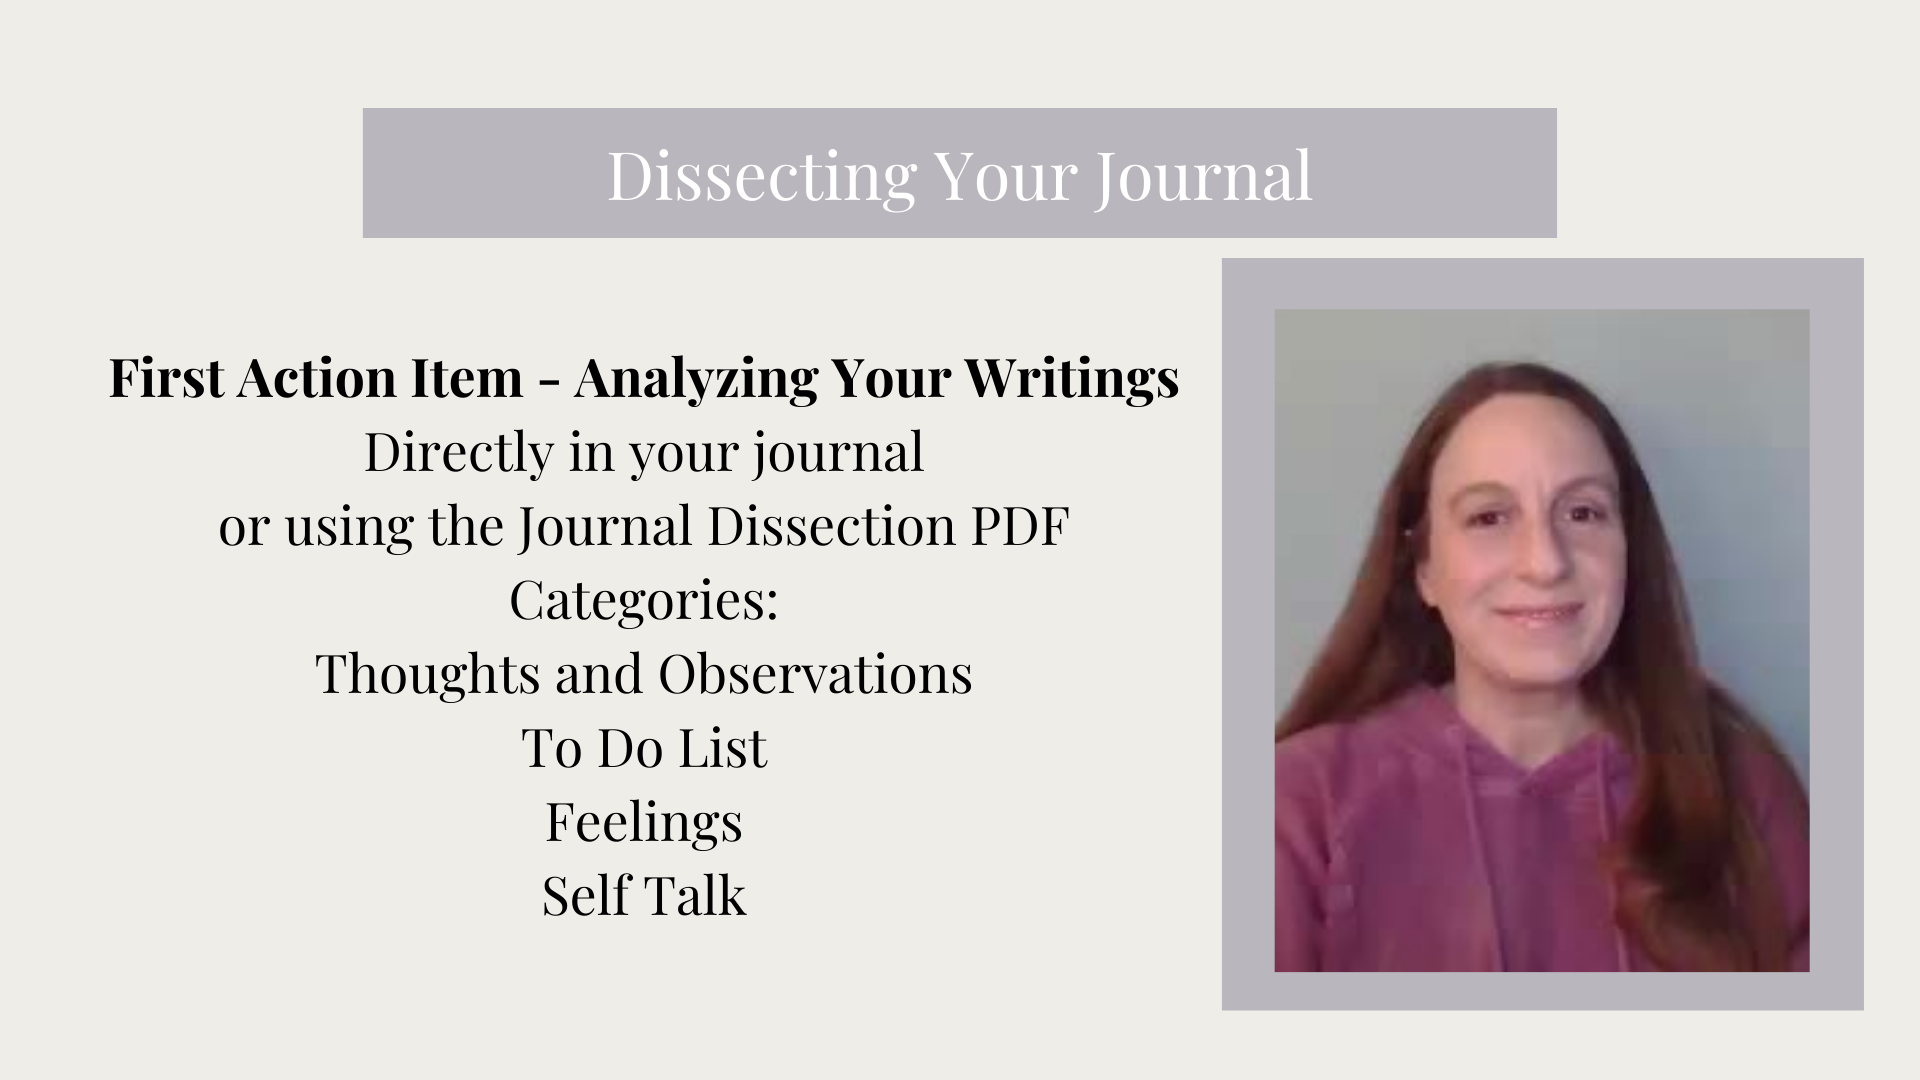
There are so many ways of delivering content and no one way is correct. Use what comes naturally to you, and what you are good at. Some of us are comfortable on video, others love their voice but aren’t necessarily comfortable in front of the camera, and still others feel that writing is their strong suit. Identify your superpower and go with that!
Once I had my video/slideshows recorded, I started plugging everything into the Kajabi platform. I uploaded the videos, copied and pasted my scripts (you can type them directly into the text form but I had done these previously in Google Docs), and uploaded my supplemental materials.
It was finally starting to feel like I would actually get this project done! It took me one year from idea to completion. Honestly, it can be done in a fraction of that time. It just depends on the clarity of your idea and the consistency of your execution. Now that I have done the first, the next one will be much easier! Working with a coach can help you meet your goals in a timely fashion! If creating a course is on your mind but the project is stuck on the back burner, reach out. Let’s set up a sample session and see if working together would help you keep on track to reach your goal and get your course published. How would it feel to have your class ready for sale in six months? Or, better yet, in ninety days?
Don't forget to check out Part 3 to this series, where you will find out what steps need to be taken once you have the course ready to sell.

Sign up here to get on the waitlist for Warrior Ways Workbook.
Stay connected with news and updates!
Join our mailing list to receive the latest news and updates from our team.
Don't worry, your information will not be shared.

5 Ways You Can Change Your Life TODAY!
Author

Mary Fenton
Author
Mary Fenton is a certified life and career coach and the founder of Mary Fenton coaching. She helps women in their prime redesign their life by creating and implementing success strategies. Her coaching provides a safe space to gain new perspectives and find the clarity and confidence needed to step into success.

